

In all the Windows versions before Windows 10, Microsoft bundled a FREE video editor program called Movie Maker, but they didn't bundle this with Windows 10. Instead, they decided to give us this new program (App) called Video Editor, although they have also called it Movie Maker which just adds to the confusion.
This can be found in the Windows 10 Apps. Click on the Window Icon in the bottom left and corner, look at the list of Apps that appear in the alphabetical list, scroll down and look for Photos.
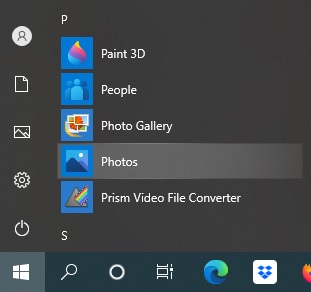
Click on Photos and you get this:

Click the tab Video Projects at the top and you get this:

Click on New video project ... and you get this (wait for it to appear!):
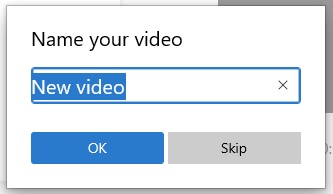
If you have already decided what you are doing, then give it a Name and click OK. If not, click Skip and you can give your project a name later.
The next box that comes up asks you to Add all the files you want to use for this project. If you click on + Add you get the choices as to where to get the photos from for your Project, and you get the below. I would click on From this PC as I would have previously created a Folder on my laptop specifically for this project and put into it all the Video clips, Photos, and the MP3 music file I want to include.
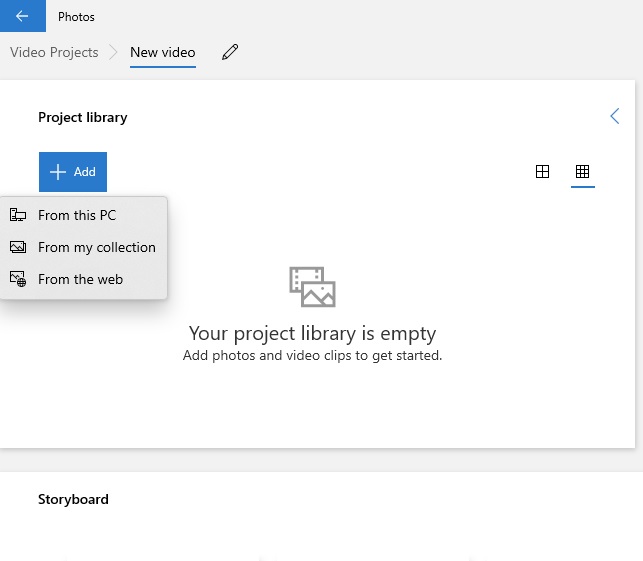
So when I click on From this PC I can put everything in my previously created Folder into this area, which they call your Project Library.
To make the video you drag and drop all the clips you want to use onto the Storyboard. Leave the MP3 until last.
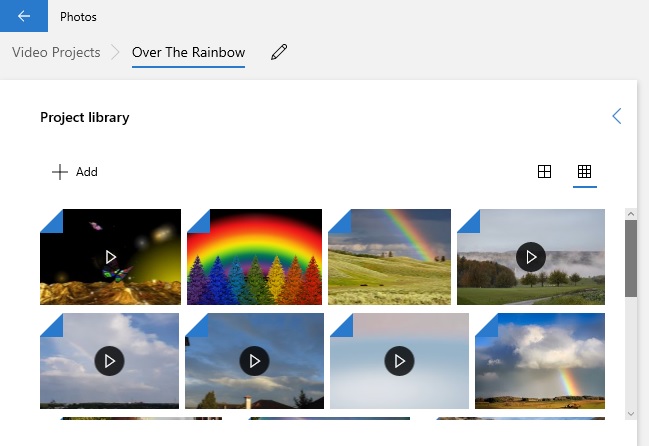
Once I have loaded in all my photos, videos and MP3 my Project Library looks like this. The turned down corners of the images indicate which photos I have put into the Storyboard so far. This certainly helps me keep track of which photos I have used and which I haven't! The video clips in my Project Library have an arrow on them; the ordinary photos do not.
And my Storyboard looks like the below after I have dragged and dropped my pictures/video clips into it. Note that each image has a 'time' on it. This enables me to keep track of how long the video is going to run and I can make sure I have enough material for the MP3 I am adding to it.

If you have stayed with me so far, take a look at the video below as this is a very good explanation of what you do. At the start of the video he does a 'Search' for Video Editor. I don't see the point of doing that, as we know where it is and I prefer to launch it from Photos.
Video Editor
Got the idea? Using this program you can sort your pictures along a time line; you can alter the time 'run' for any of the pictures (click on them individually) up to a maximum exposure of 7 seconds (the 'default' is 3 seconds); you can ZOOM and PAN on each picture (again, click each picture individually to carry out what you want to do to it) etc. There are a couple of things I wouldn't want to do with my picture. I wouldn't want to do 3D effects, or Filters. I reckon these are just there for kids to do and put up on Facebook!
I have made three videos exactly the same (same pictures and music) so I can compare one with another. With this one I was not able to do any TRANSITIONS. These are ways of moving from one picture/video clip to the next smoothly, so you 'jump' from one picture straight into the next. Also, I did not feel that the PAN and ZOOM were very effective as there was hardly any 'movement' of the photo at all.
The LINK below takes you straight to the YouTube site to watch it. I have done it this way so you can read the comments I have put underneath the video.
Click the 'back arrow' after watching to get back to this page.
Any questions on using this program, just ask!
Hugh
 ..
..