
Scroll down towards the end to read about a problem I encountered after downloading an updated version of Audacity (Version 2.3.3) and how I solved the problem.
I was listening to some MP3s I had recorded a while back and came across this one .. Rock Around The Clock. When I listened to it I realised that there was a 'drone' sound running right through it which must have been caused by the recording equipment I was using.
Here are the first few bars of the piece .. and I have left the end of the recording in as well so you can hear the 'drone' sound again. The 'drone' does actually go right through the whole piece, but as the music is much, much louder than the 'drone' you are not really aware of it. But it is still there, and really I could do without that 'drone' sound interfering with my recording.
Click the below to listen .. and click the back-button afterwards to get back to this page.
Rock Around The Clock DEMO with 'drone' sound at the beginning and end
To emphasise the sound I am on about, here it is again .. and this time I have lengthened the 'drone' sound so you really can't miss it!
Click the below, and again click the back-button to get back to this page afterwards.
Lengthened 'drone' sound at the beginning
You can use Audacity to completely remove that 'drone' sound from the whole recording.
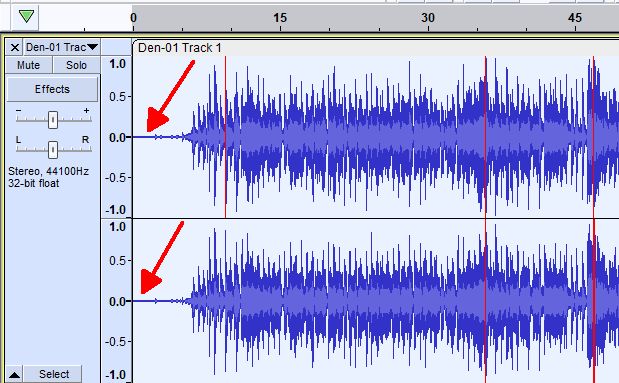
First, 'Open' your track in Audacity. You then have to tell Audacity what the sound is that you want removed. This can be a 'drone', as I have here, but if you were recording 'live' using microphones it could also be 'chatter' from an audience; or cars out in the street; or doors slamming etc. But you do have to get this sample from a 'quiet' section of your recording in the first instance.
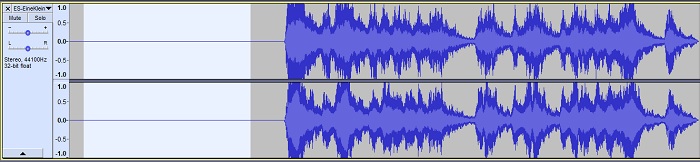
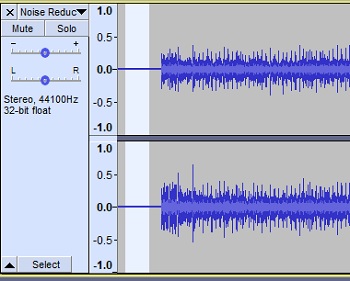
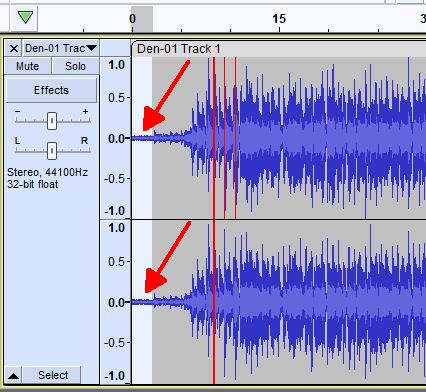
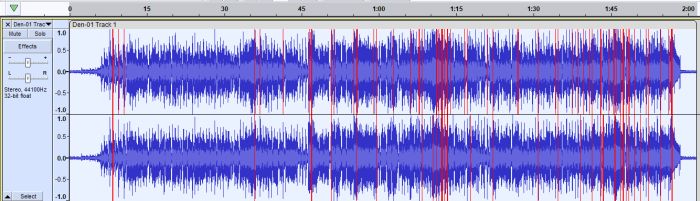
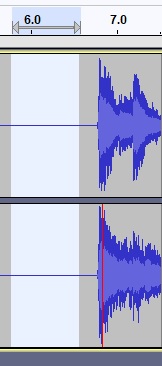
In our case we'll get a sample from the start of the piece. Click and 'drag' the mouse across a suitable section of the noise you want to remove. This will now be highlighted, as in the illustration below:
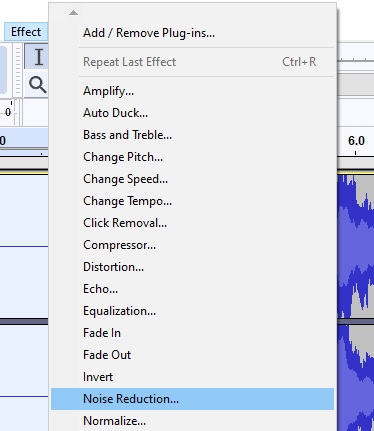
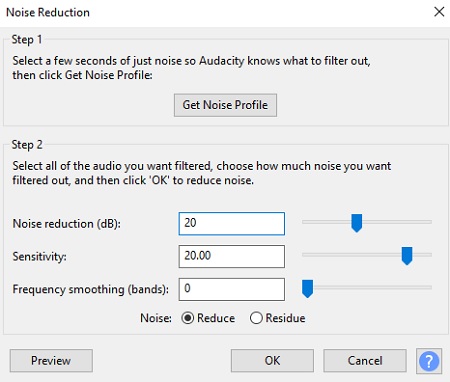
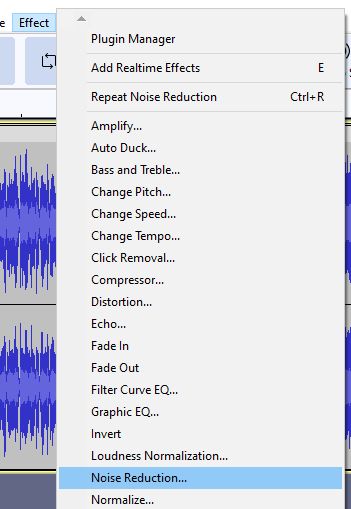
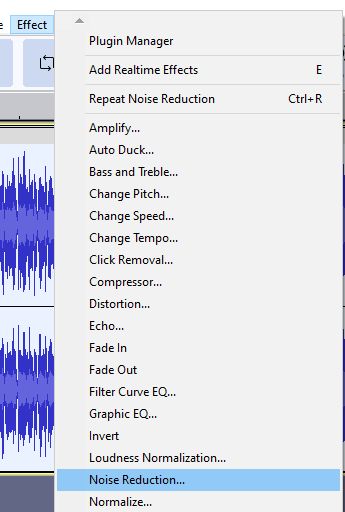
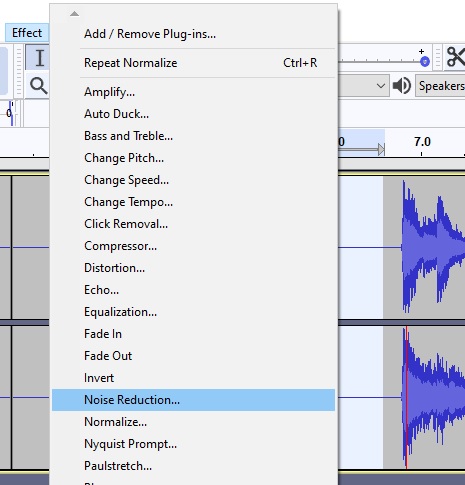
Next, click on Effect (at the top) and in the drop-down box choose Noise Reduction...
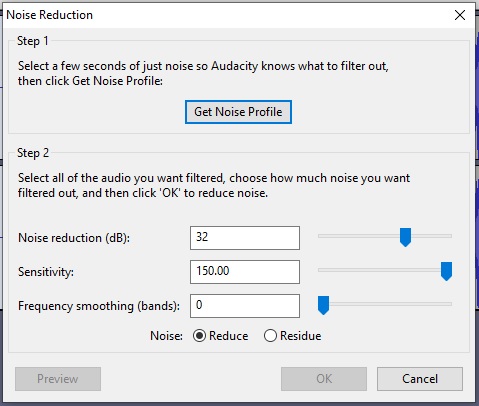
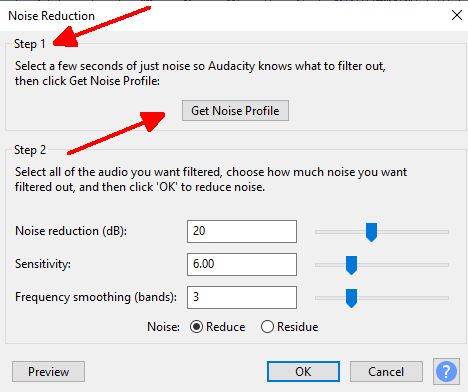
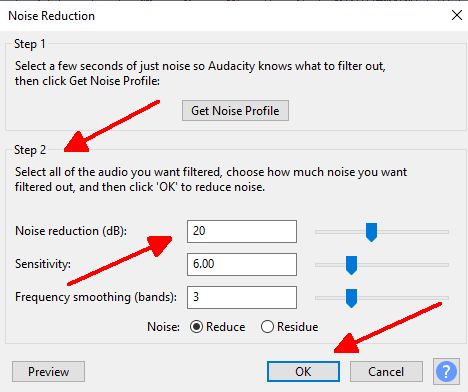
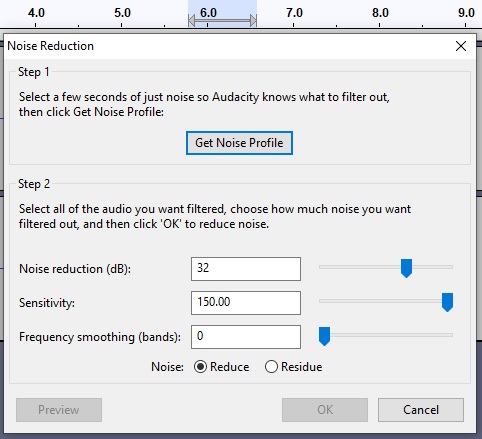
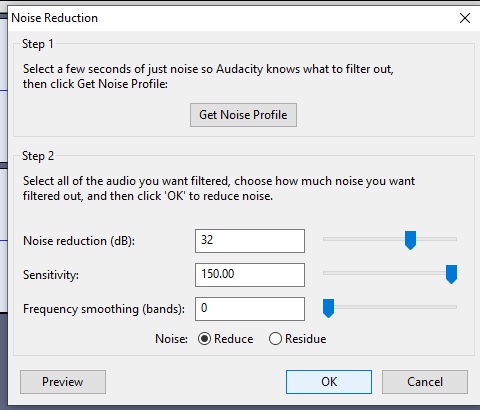
Step 1 is to Get Noise profile .. so click on that. Audacity will get the noise profile from the bit you have highlighted, which is why you have to select the area where the noise is first.
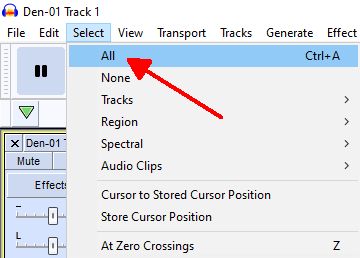
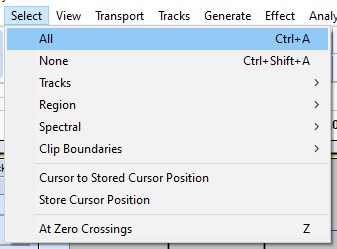
When you click on Get Noise Profile the box disappears. What you have to do next is to 'highlight' the section where you want that Noise Reduction to take place .. which basically in this case is the whole piece. So click Select (at the top) and choose All.
Now go to Effect and choose Noise Reduction again. The same box will come up as before .. but this time we want Step 2.
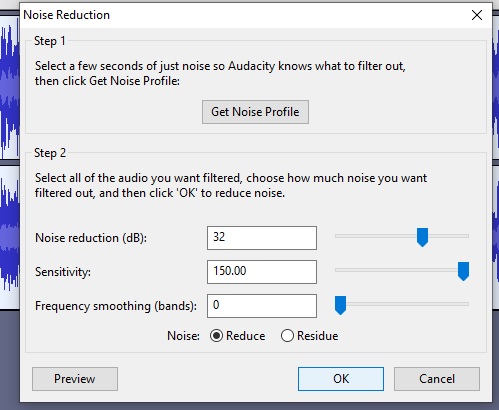
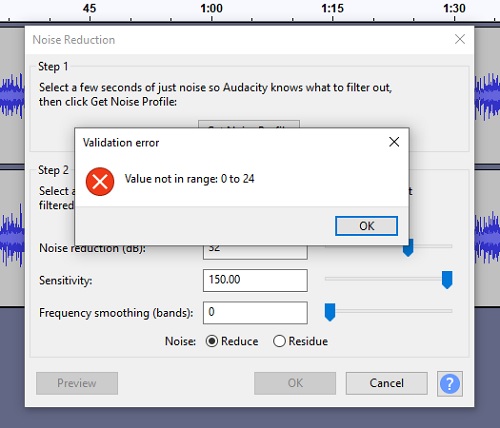
You will see there are options to choose for the actual noise reduction, and the ones you need are the 'default' ones .. which are showing in the boxes in the image below. If these are anything different, then change these values to:
Noise reduction (dB): 32
Sensitivity: 150.00
Frequency smoothing (bands): 0
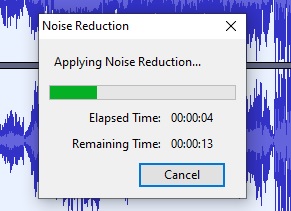
And this time, Reduce is automatically selected and the OK is available for you to click on. So click on OK .. and Audacity will remove that 'noise' from the whole piece, wherever it occurs.
You now need to 'save' what you have done .. which is of course to click on File, Export, Export as MP3 .. and give your piece a name.
This is how my recording of Rock Around The Clock sounds now. That hum has gone. Not only from the beginning and the end, but from everywhere in between, so the recording you are listening to is a lot clearer than it was.
Click the below to listen .. and click the back-button afterwards to get back to this page.
Rock Around The Clock with the 'drone' sound removed
Hugh
 ..
..